
Why HDR Photos Look Fake (And How to Fix It)
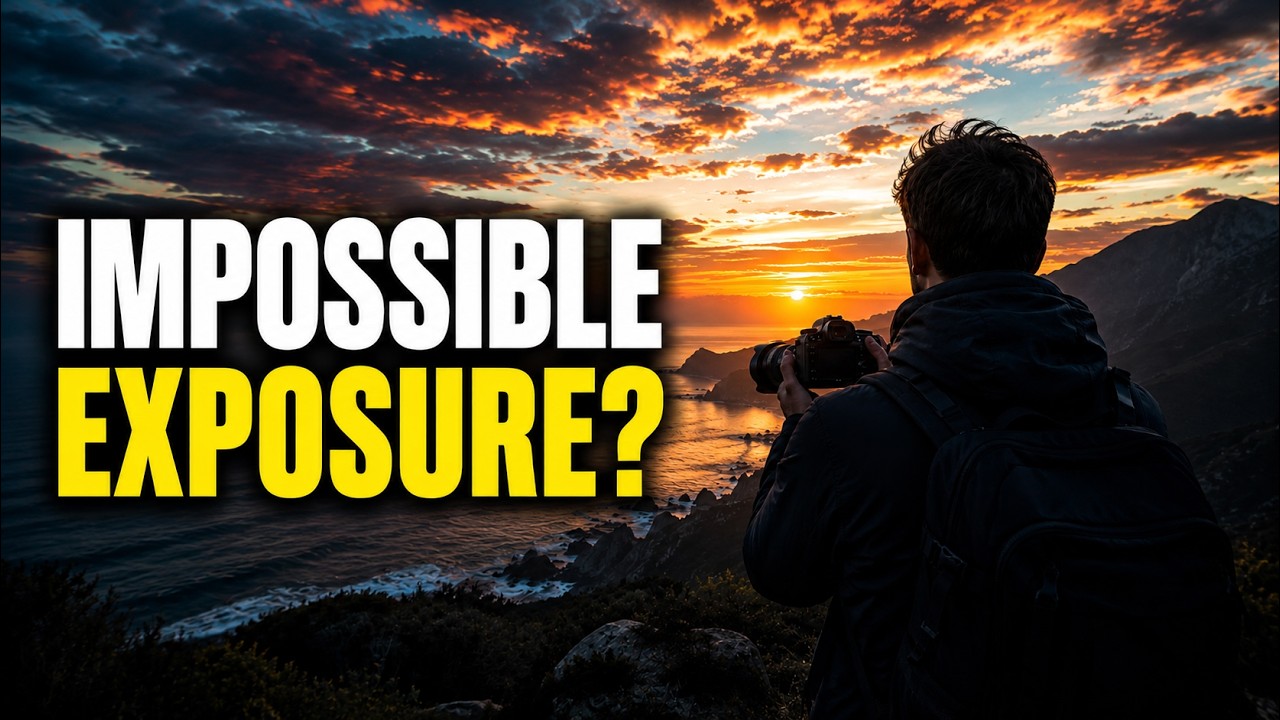
Learn how to shoot natural-looking HDR photos with your Nikon Z when a single exposure can’t hold both the bright sky and dark foreground.
In this video, I’ll show you how to turn on Auto Exposure Bracketing through the Nikon Z menu, choose the right number of frames and exposure spacing, keep your bracket aligned, and merge the RAW files in Luminar. I’ll also show you how to avoid the overprocessed HDR look so the final image still feels like real light.
We’ll cover when bracketing is actually necessary, why three frames at two-stop intervals is often a great starting point, how movement can create ghosting, and why the best HDR image is usually the one that doesn’t look like HDR at all.
For the software portion, I’m using Luminar, but the same basic workflow can be done in a variety of other HDR-capable editing programs.
If exposure is something you still wrestle with, check out my Auto Exposure Masterclass at Shutter Speak Academy:
https://www.shutterspeakacademy.com/p/products/shutter-speak-academy-exposure-masterclass
Luminar: https://skylum.evyy.net/c/313067/3849543/3255
Please consider subscribing for more practical Nikon Z photography tutorials.
![Private: [ID: OZ6lnpmhjAY] Youtube Automatic](https://shutterspeak.net/wp-content/uploads/2026/09/private-id-oz6lnpmhjay-youtube-a-60x60.jpg)
![Private: [ID: OvFOE4R-IvQ] Youtube Automatic](https://shutterspeak.net/wp-content/uploads/2026/08/private-id-ovfoe4r-ivq-youtube-a-60x60.jpg)